

| |
| Home Page |
| Products |
| How IT Works / FAQ |
| Installation Guide |
| Testimonials |
| Shop / Order Here |
| Dealer Opportunities |
| Existing Dealers |
| History / About Us |
| Contact |
| FuelMaster Installation Steps | ||
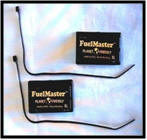
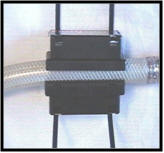
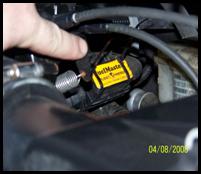
Please read all instructions before beginning the installation of the FuelMaster. FuelMaster is quick and easy to install. No tools are necessary. Locate the inbound Fuel Line. Snap the 2 FuelMaster halves around the inbound fuel line. Thread the plastic ties through the slots on the sides of the unit. Tighten, making sure that the space between the 2 halves is approximately the same all around (if the fuel line is wider than the groove).
Installation Guide:
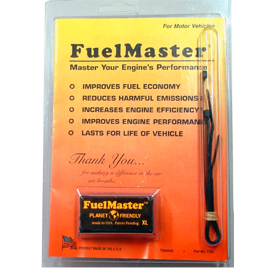
FuelMaster XL
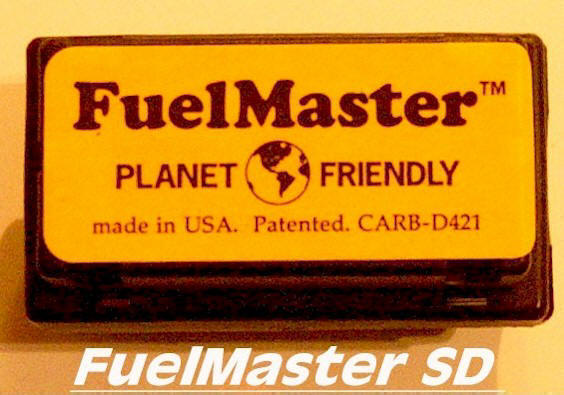
FuelMaster SD
(2) Installation Steps:
Installation Illustrations:
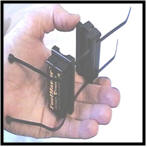
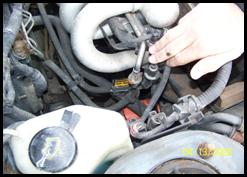
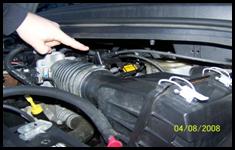
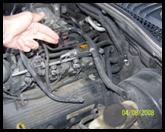
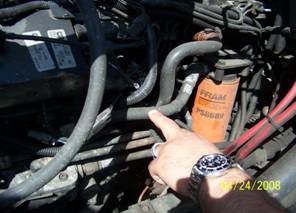
Installers
Fingers are On Inbound Fuel Line on 4 Cyl. To locate the inbound fuel line, find the vehicles fuel
filter. The Fuel line is approximately the size of a dime. It's usually
black or silver and is most often located on the inside, left side (drivers
side) of the chassis (frame). If necessary, trace the fuel lines coming out of
the fuel tank. When you locate the fuel filter, install FuelMaster only on the
one fuel line that comes directly out of the fuel filter, between the fuel
filter and the engine (towards the front of the vehicle). The other "wrong" line
is the outbound fuel line, which returns excess fuel back to the fuel tank. FuelMaster must be installed only on the inbound fuel line
that supplies fuel to the engine in order to work its fuel savings and emission
reduction benefits for your vehicles. Please Note: FuelMaster begins
working as soon as the unit is properly installed upon the inbound fuel line of
your car's engine, initial results may vary and will improve as you drive your
vehicle over the next 600 to 1,000 miles. Optimum benefits for your individual
car should be attained and level after the 1,000 driven miles. You may have a
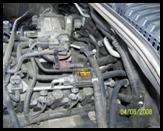
break in Period for the FuelMaster. Install your SD or XL FuelMaster on the
INBOUND TO THE ENGINE AND ATTACH THE FUELMASTER TO THAT LINE AT THE CLOSEST
POINT TO THE ENGINE Always put FuelMaster after the Fuel-Filter More Installs:
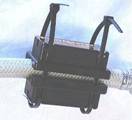
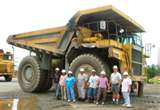
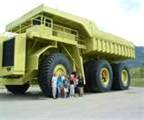
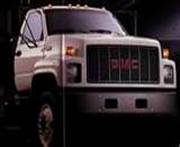
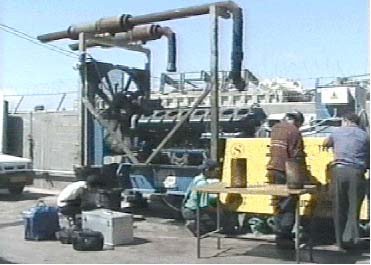
Big Machines Installation Data: Below
Outlines Data for Bigger Machines: Install must be with a Mechanic assistance
to insure we have installed on proper fuel lines. Each Cylinder may need a
FuelMaster on that fuel injector line. So two designs happen: 1. Install the
units back to back on the one main inbound fuel line to the big engine OR 2. Put
one unit on each fuel injector line to each engine cylinder. As a Rule we
outline baseline data below and you may need to adjust to fit the power of the
machine. We do recommend only using the FuelMaster XL Model Why? It has more
magnetic power to affect the fuel going into these rigs engines for Petrol or
Diesel fuel. Either type of fuel can be positively affected using FuelMaster
units.
After Installing My FuelMaster Helpful Tips:
1. Change the oil after the first 1000 miles.
2. Disconnect The Battery for 30 minutes: This helps adjust idle speed (RPM) to the new fuel mix ratios. FuelMaster creates more complete combustion, therefore more power will be generated for the same volume of fuel & this battery disconnect helps reset the emissions sensor. Do this process once per week during the first month of installation of the FuelMaster. 3. Check your Tire Pressure: Keeping tires full, balanced & rotated assists the process of FuelMaster performance. 4. Go Easy on the Gas & Idling: When you avoid jack rabbit starts you help improve your mpg. also eliminating unnecessary idling. turn off your engine when you not using the car. This saves gas and stops wasting your MONEY$$$$.5 . Use Cruise Control For Added Savings This provides a consistent flow of gas to the engine for a more efficient & steady streamlined use of your gasoline. Using Cruise supports lower gas consumption5. Replace Air Filters! Fresh Air flow helps increase air flow oxygen mix into your engine to help burn the fuel more completely. 6. Lighten the Load: Reduce Carrying Unnecessary Items in your Vehicle which reduces the weight your carrying. The extra stuff drags your vehicle & can reduce MPG. © 1996-2012 FuelMaster.com - All Rights Reserved |